Connect your OBS with the dock (old method)
By the end, the OBS at your house will show up as Connected in the dashboard and you’ll be able to drive it from your phone while you’re out on the street.
You need: the Stream Key plan, which is the one that includes connecting your OBS (neither Stream Key Lite nor the Cloud OBS plans come with it) · OBS 28 or later, which already ships the WebSocket server · OBS open on your computer · 5 minutes
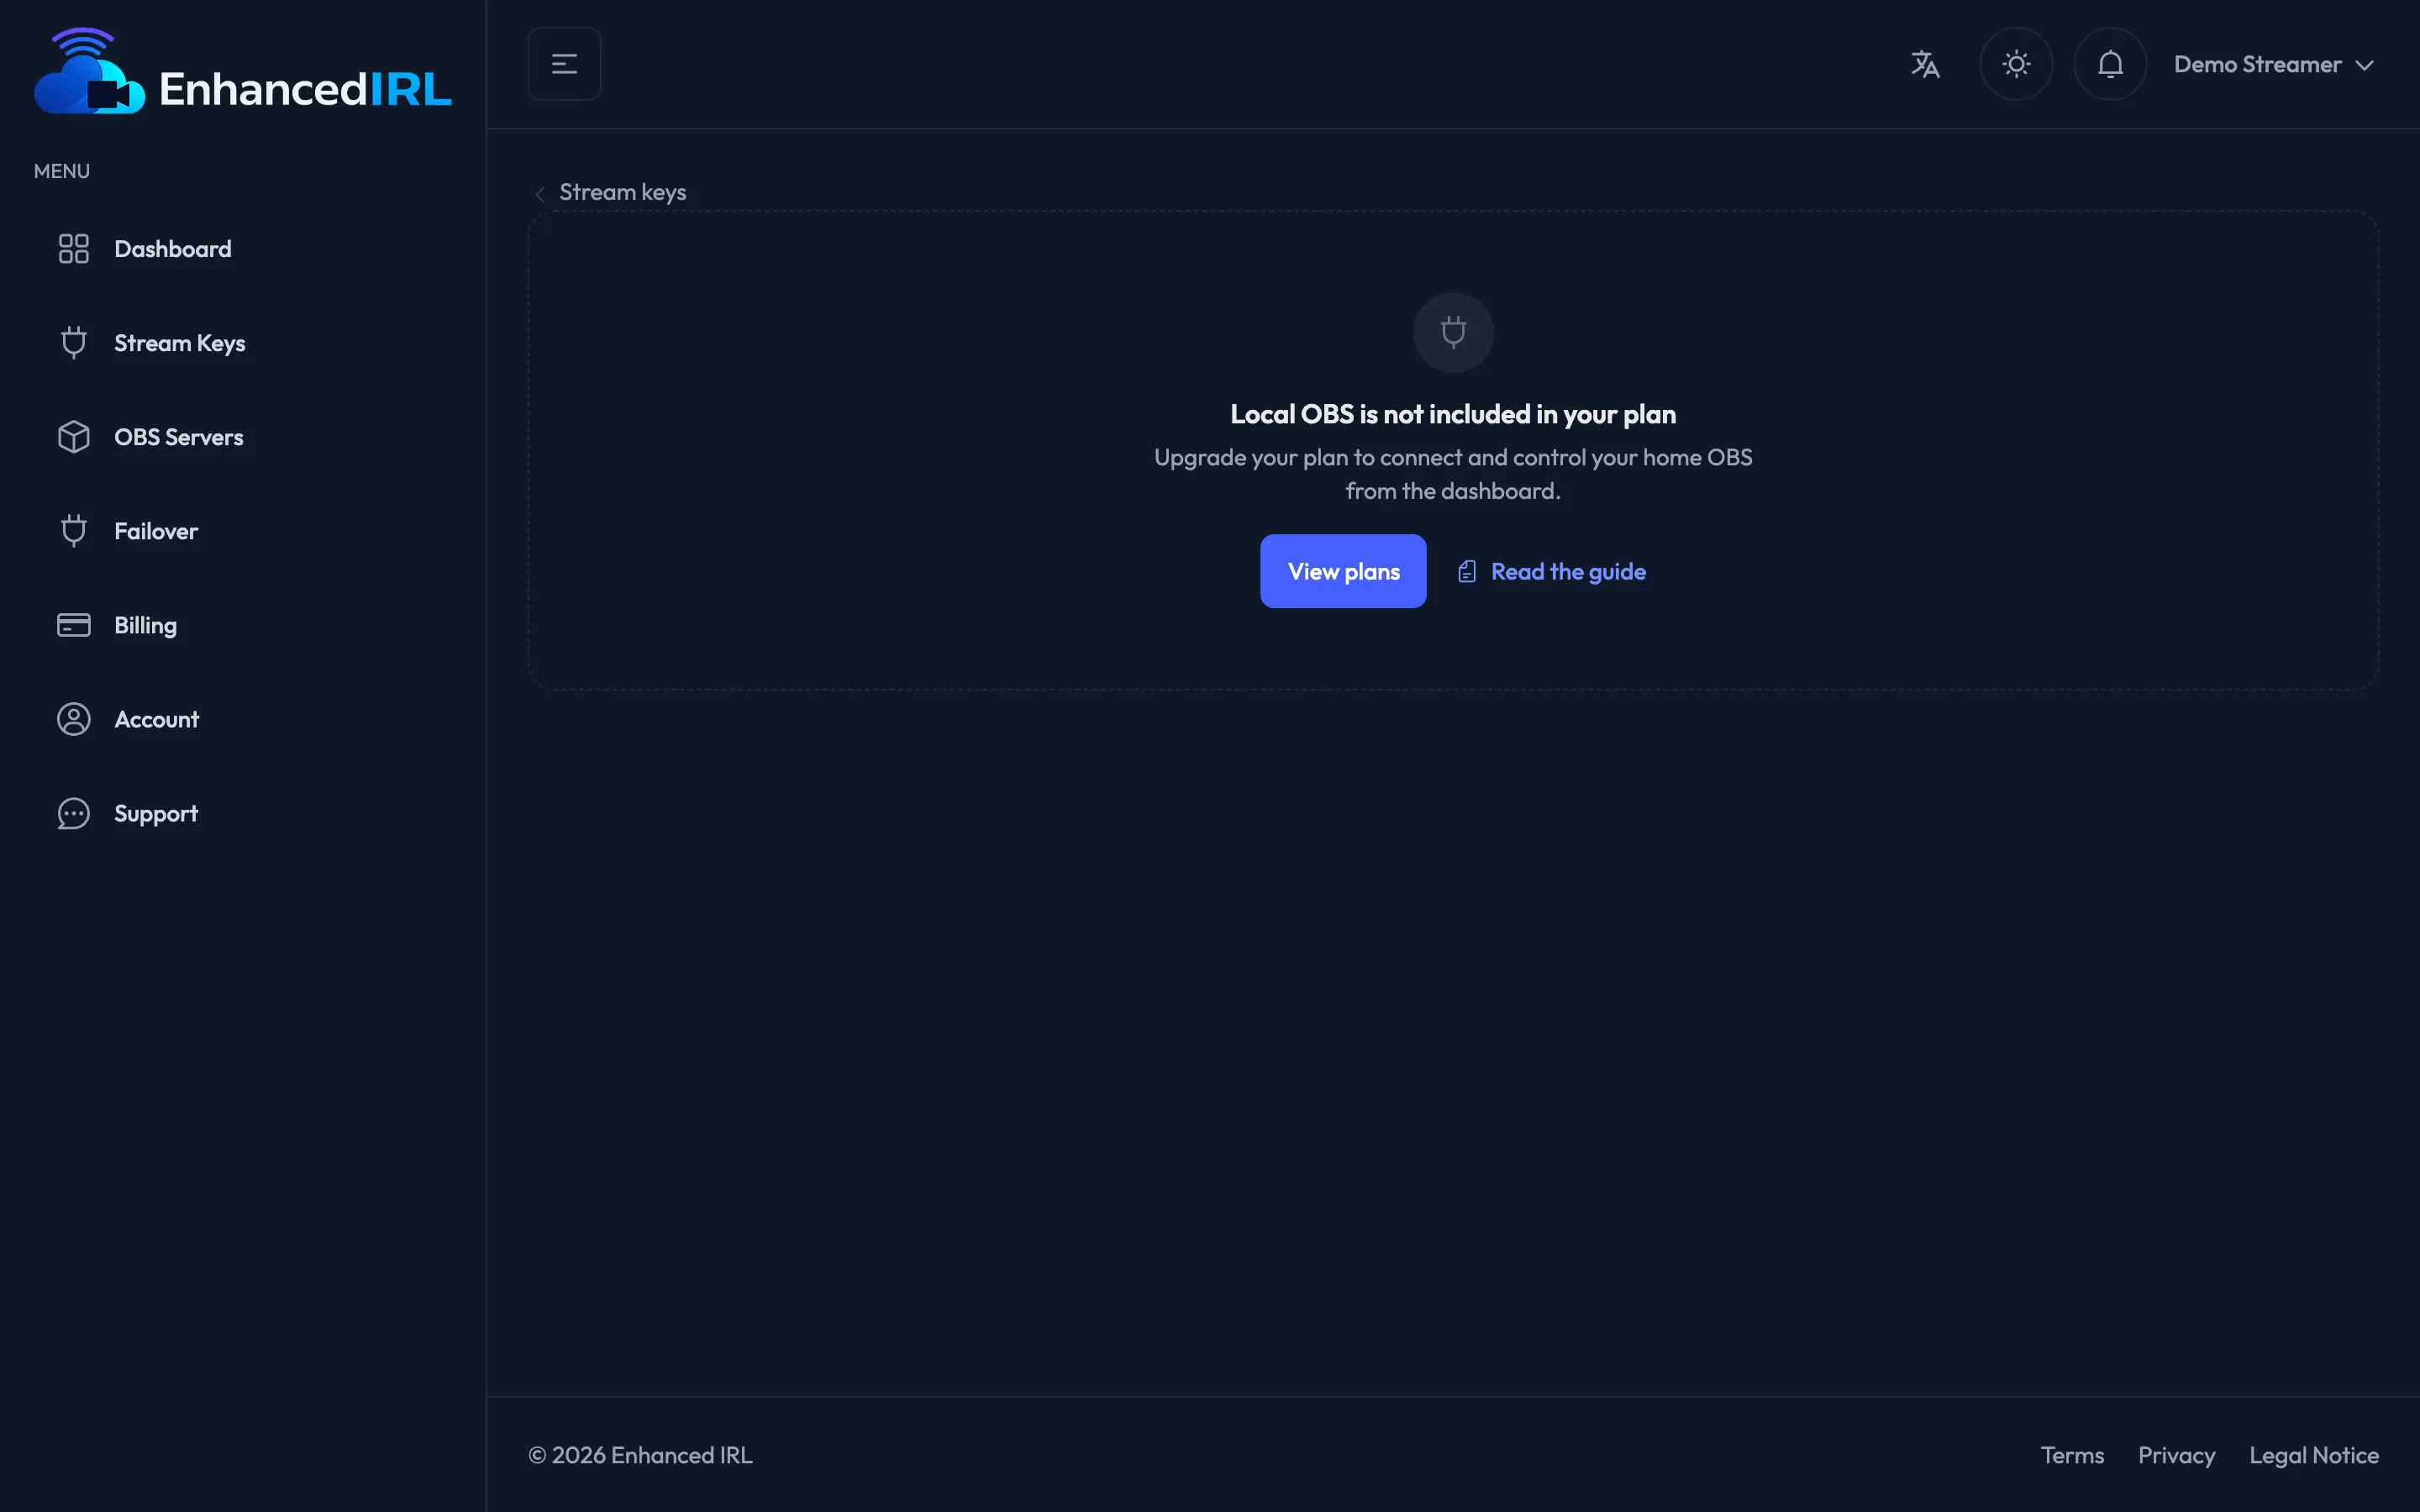
- In the dashboard, open Stream Keys and hit Local OBS on the key you’re going to use. You land on the Connect OBS tab.
- In your OBS: Tools → WebSocket Server Settings and enable it. Keep that window handy.
- Back in the dashboard, go to Authentication mode and pick one of the three modes (table below). Hit Save: you’ll see Credentials saved.
- If you chose Generated, copy the Generated password (paste it into your OBS) and paste it into the password field in Tools → WebSocket Server Settings. Apply the changes in OBS.
- Hit Generate connect link and copy it right there and then. The dashboard warns you: “Copy it now: for security it’s only shown once.”
- In your OBS, go to Docks → Custom Browser Docks, create a new one, give it whatever name you like and paste the link into the URL field. Accept.
- The dock opens inside OBS and says Checking OBS…. As soon as OBS answers and accepts the password, it switches to Connected ✓; in the dashboard, the header switches to Connected and the notice at the top says Connected! with the Go to control button.
- Leave that dock open while you stream.
The three password modes
Section titled “The three password modes”| Mode | When to use it | What you do |
|---|---|---|
| Generated (Recommended) | The normal case | We give you a password and you paste it into your OBS |
| Your own | You already had a password set in OBS and don’t want to touch it | You type it into Your OBS password |
| No password | Your WebSocket server doesn’t require a password | Nothing beyond saving it |
The mode in the dashboard and the one in your OBS have to match. If you change the password in OBS, come back to the dashboard and save it again.
How to tell it’s connected
Section titled “How to tell it’s connected”Connected means your OBS answers and accepts the password, not just that the dock is open: with the dock open and the wrong password, you won’t see it. The badge in the header of the Local OBS page and the notice at the top of Connect OBS tell you where you are:
| What you see | What it means |
|---|---|
| Let’s connect your OBS | You haven’t generated the connect link yet |
| Waiting for your OBS to connect… | There’s a link, but the dock isn’t open in your OBS |
| Checking your OBS… | The dock is open and we’re checking that OBS answers |
| Connected! | OBS answers and accepts the password: you can use Control now |
| Your OBS isn’t answering · The OBS password doesn’t match · Your OBS version isn’t supported | The dock is open, but something is wrong. Each notice says what to do; it’s also below, under Not working? |
The dock says the same inside OBS: Checking OBS…, Connected ✓ or the cause of the problem.
Regenerate and revoke
Section titled “Regenerate and revoke”- Regenerate link: creates a new one and the old one stops working. This is what you do if you lost the link, because it’s never shown again.
- Revoke: “The current link will stop working and your OBS will disconnect. You’ll need to generate a new one.” Use it if you left the link on a PC you no longer control.
Either way, the dock that had the old link disconnects and says Link no longer valid. Edit the dock in OBS and paste the new link.
A link can only be connected in one dock at a time. If you open it in another dock or another OBS, the first one disconnects and says Open in another dock, with a Connect here button in case you want it back.
Not working?
Section titled “Not working?”The dashboard says “Waiting for your OBS to connect…” and never moves on.
The dock isn’t open in your OBS, or it doesn’t have the whole link. Check under Docks → Custom
Browser Docks that the dock exists and that its URL ends in /connect# followed by the code, and
that OBS is open. The password has nothing to do with it yet: it’s checked in the next step.
“Your OBS isn’t answering” The dock is open, but the OBS WebSocket server isn’t answering. In OBS, open Tools → WebSocket Server Settings, enable it and keep the port at 4455 (that’s the only one the dock looks for).
“The OBS password doesn’t match” OBS answers, but rejects the password. Set the same password as in step 2 under Tools → WebSocket Server Settings, or pick the mode in the dashboard that matches what you have in OBS and save it. As soon as they match, the dashboard switches to Connected! on its own within a few seconds.
“Your OBS version isn’t supported” You need OBS 28 or later, which already ships the WebSocket server. Update OBS and open it again.
The dock says “Link no longer valid” That link was revoked or you generated a new one. Generate one in Connect OBS and paste it into the dock.
“There’s an active link. Regenerate it if you need a new one (the old one will stop working).” You already generated one and didn’t copy it. Hit Regenerate link and copy it this time.
“Your plan doesn’t include connecting your own OBS.” (or the dock says Not included in your plan) That stream key’s plan doesn’t come with this: only Stream Key includes it. Change it from Billing.
Next step
Section titled “Next step”- Control your OBS from the dashboard — what you can touch once it’s connected.
- Automatic scene switching on your OBS — so it switches scene on its own when the bitrate drops.
- Your OBS won’t connect — if it stays on Disconnected.