

Scenes and overlays
Your Cloud OBS arrives with the scenes built and with five overlays ready to go on air. You don’t have to design anything for your first stream. And on OBS Basic you can also put your own overlay on top of your camera: your alerts, your chat, whatever your URL carries.
The scenes it comes with
Section titled “The scenes it comes with”There are six. <key> is the name of your stream key, so if your key is called Stream key 1, your
scenes are called Stream key 1, Stream key 1 Low and Stream key 1 Offline.
| Scene | What’s inside it |
|---|---|
Starting |
The countdown overlay |
<key> |
Your live feed. It’s the main scene. On OBS Basic, with your overlay on top if you turn it on |
<key> Low |
Your feed, for when the bitrate drops, with the weak connection notice on top |
<key> Offline |
The “no signal” overlay |
Privacy |
The break overlay |
Ending |
The sign-off overlay |
Automatic scene switching uses exactly these names. If you rename a scene from the remote desktop, the automatic switching stops finding it.
Everything in these scenes is fitted to your plan’s resolution: your feed is shown whole, whatever size it arrives at and whether it’s landscape or portrait, instead of cropped or stuck in a corner. If you move or resize one of those elements from the remote desktop, we keep your change.
The Enhanced IRL overlays
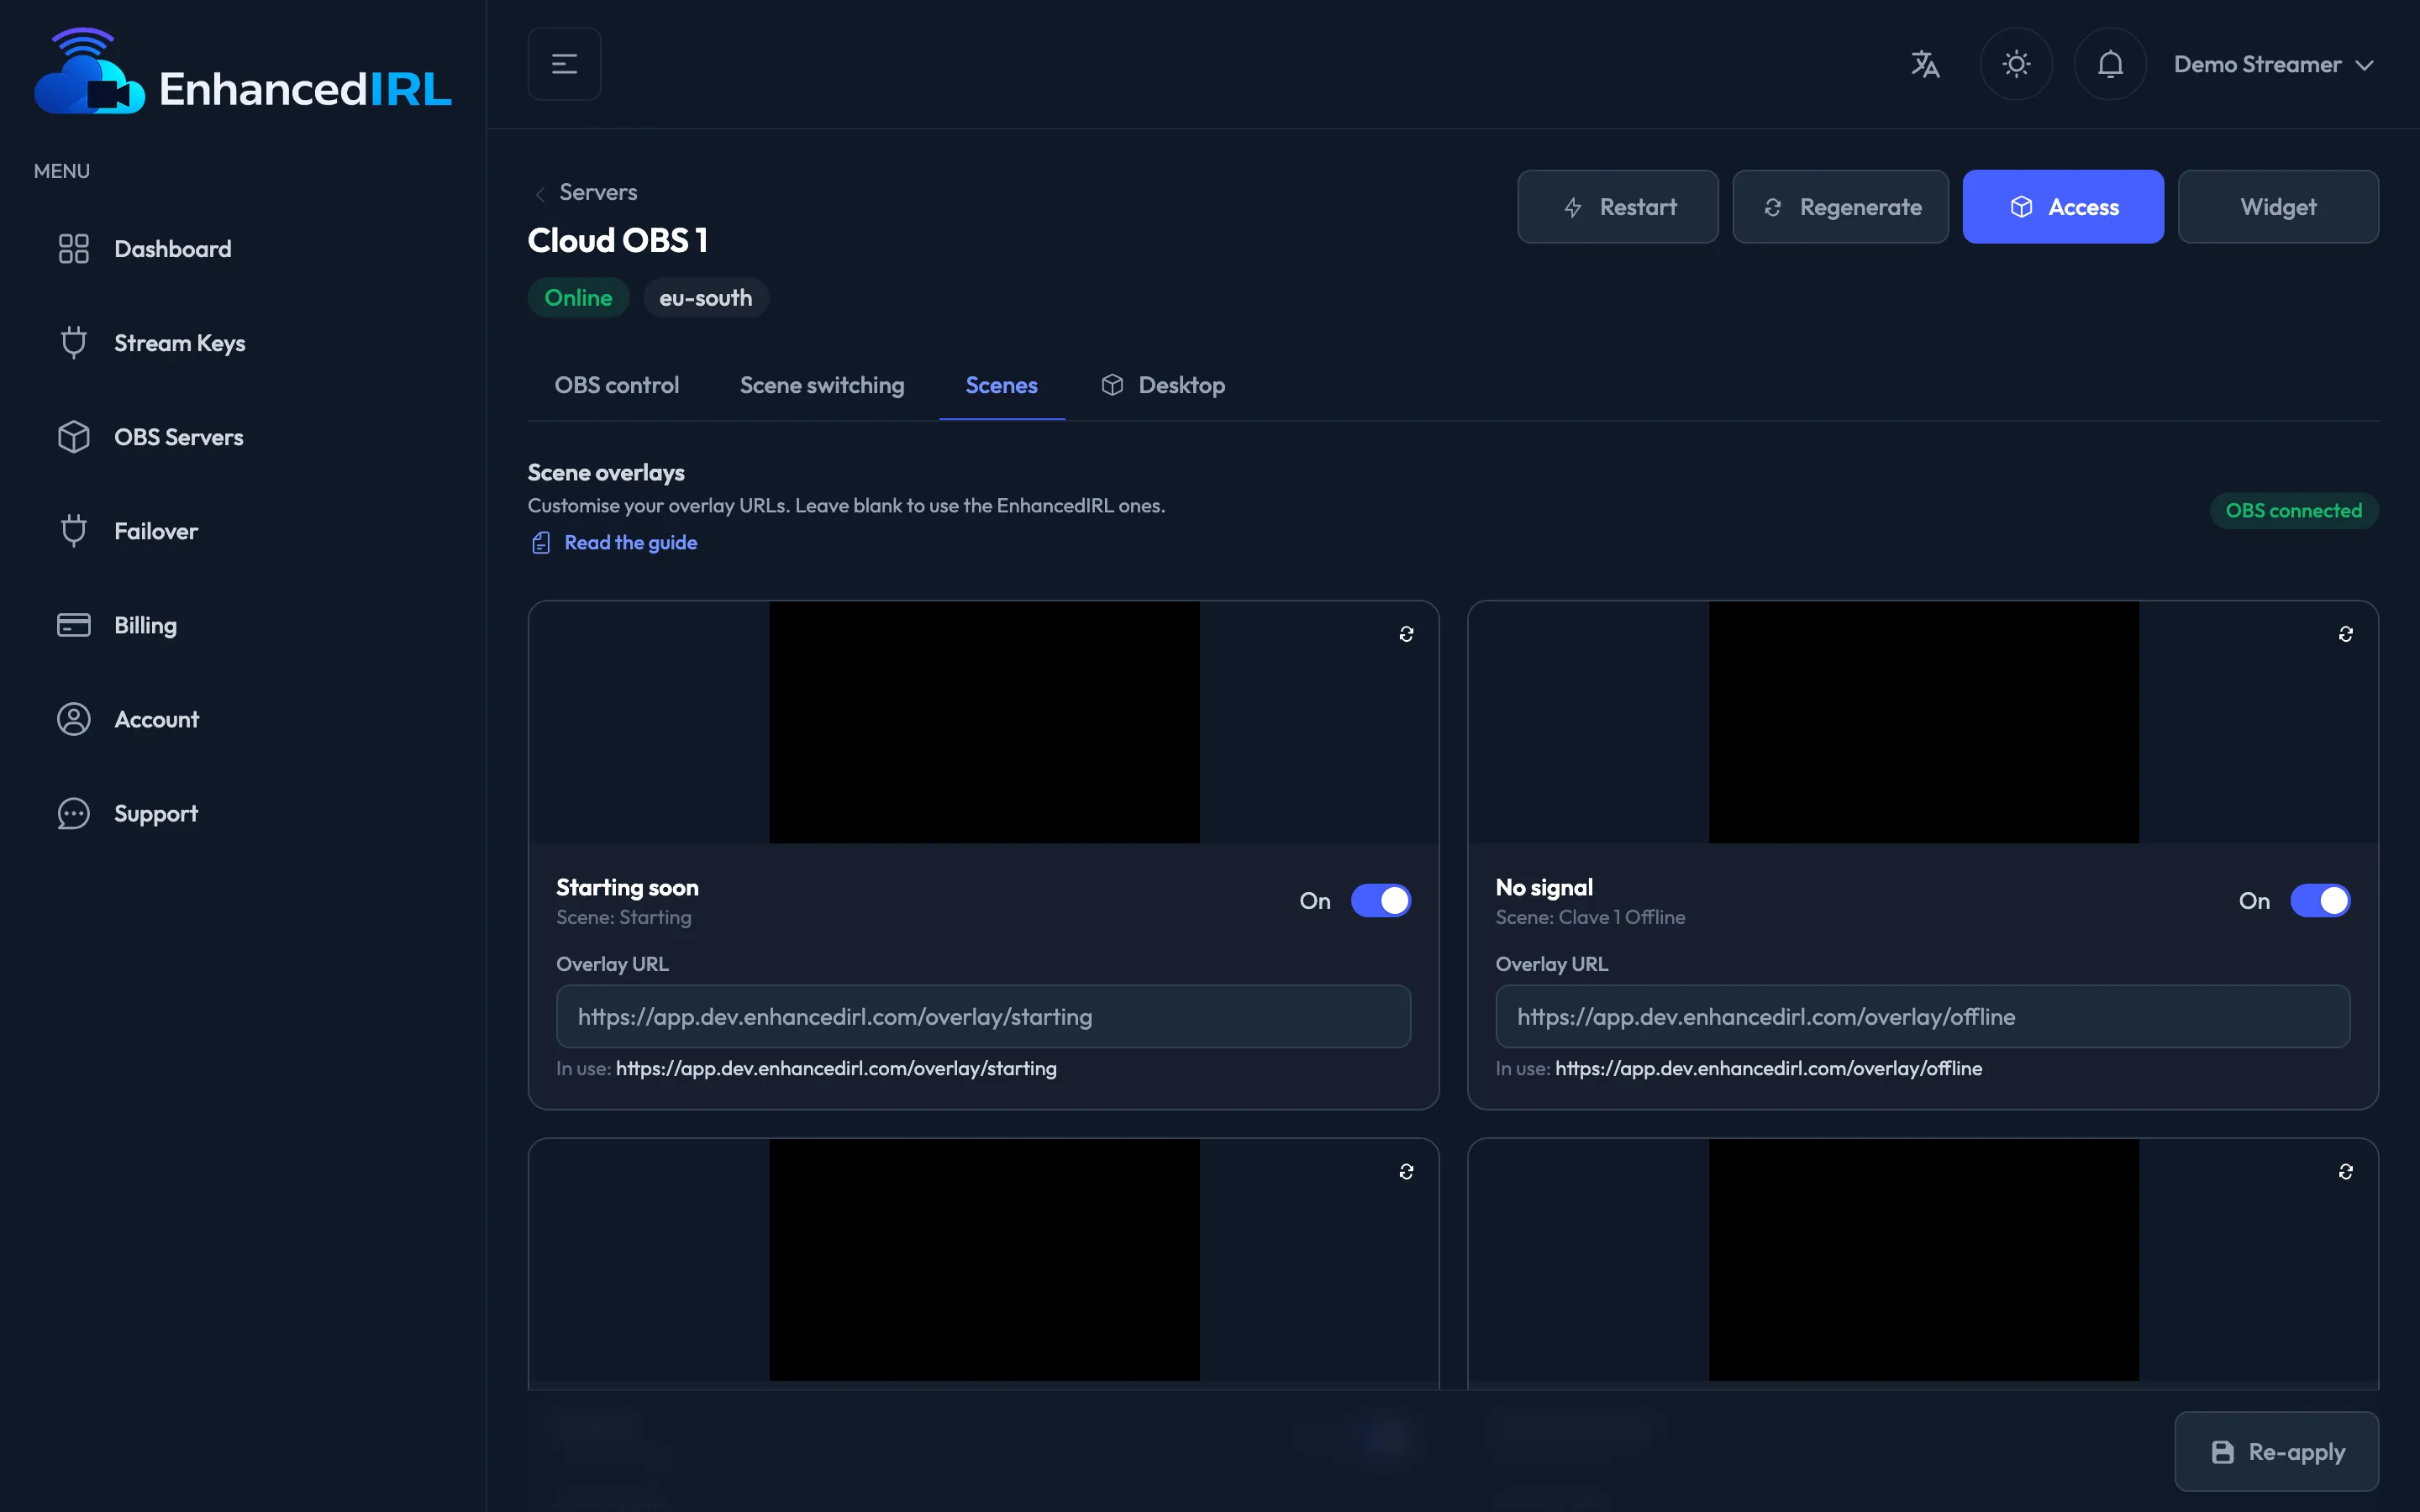
Section titled “The Enhanced IRL overlays”They’re on the Scenes tab of your server’s detail. Each one is a card with its preview, its switch and its URL.
| Card | Scene | What your audience sees |
|---|---|---|
| Starting soon | Starting |
STARTING SOON |
| No signal | <key> Offline |
NO SIGNAL |
| Ending | Ending |
THANKS FOR WATCHING! |
| Break / Privacy | Privacy |
BRB |
| Weak connection | <key> Low |
WEAK CONNECTION, small and with no background, at the top left of your picture |
Weak connection doesn’t cover your picture: your audience knows the signal is struggling instead of thinking the stream has broken.
They come out in the language you use in the dashboard (English, Spanish or French), with Enhanced IRL’s text and styling. If you change it, the overlays switch too, even mid-stream.
Your overlay on top of the camera (OBS Basic)
Section titled “Your overlay on top of the camera (OBS Basic)”On OBS Basic the Scenes tab also has the Over your camera section: you paste your
StreamElements, Streamlabs or RealtimeIRL overlay URL there and it shows on top of your picture in
<key> and <key> Low. All of it in Your overlay on top of the camera.
Turning one on or off
Section titled “Turning one on or off”Each card has an On switch. Turn it off and that overlay stops showing in its scene; the scene still exists, it just goes out without it.
That’s what you want if you’d rather use your own art than ours.
Setting your own URL on an Enhanced IRL overlay
Section titled “Setting your own URL on an Enhanced IRL overlay”Below the preview there’s the Overlay URL field:
- Paste your overlay’s address. It has to start with
http://or withhttps://. - Hit Save overlays.
- Below the field you’ll see which URL is active at that moment.
If you leave the field empty, the Enhanced IRL overlay is used. And if you had already set one of your own, the ↺ Restore the EnhancedIRL overlay link appears so you can go back in one click.
The preview
Section titled “The preview”Each card shows a thumbnail of how the overlay is looking in your OBS, with a button to refresh it. If it says “No preview”, the first image hasn’t arrived yet: hit the refresh button.
At the top of the tab there’s a notice with the server’s status. Whatever you save is applied the moment you hit Save overlays. If the server is off right then, or can’t take it at that moment, it’s saved anyway and the dashboard tells you: “Saved. It will be applied the next time the server starts.” Neither case needs a restart or a regenerate, and your overlays are still in place after a restart or after turning the server off and on.
Next step
Section titled “Next step”- The web control panel — to jump between these scenes during the stream.
- Your overlay on top of the camera — on OBS Basic, your alerts and your chat on top of your picture.
- Uploading your images, video and audio — to put your own material into the scenes.