Getting started with Cloud OBS
By the end you’ll have your Cloud OBS up and running, you’ll know what’s inside it and where to go next.
You need: a plan with Cloud OBS · a browser · a few minutes
What it is
Section titled “What it is”An OBS Studio running on our servers, with GPU encoding, that you drive from the browser. It doesn’t depend on your PC or on your home upload.
The circuit is this: your phone or your encoder send the feed to your stream key, the Cloud OBS picks it up, puts your scenes and overlays on it, and broadcasts to your platform.
- Subscribe to a plan with Cloud OBS: OBS Basic, OBS Standard or OBS Pro. The server creates itself, there’s nothing to install.
- Pick the Server region when the dashboard asks for it.
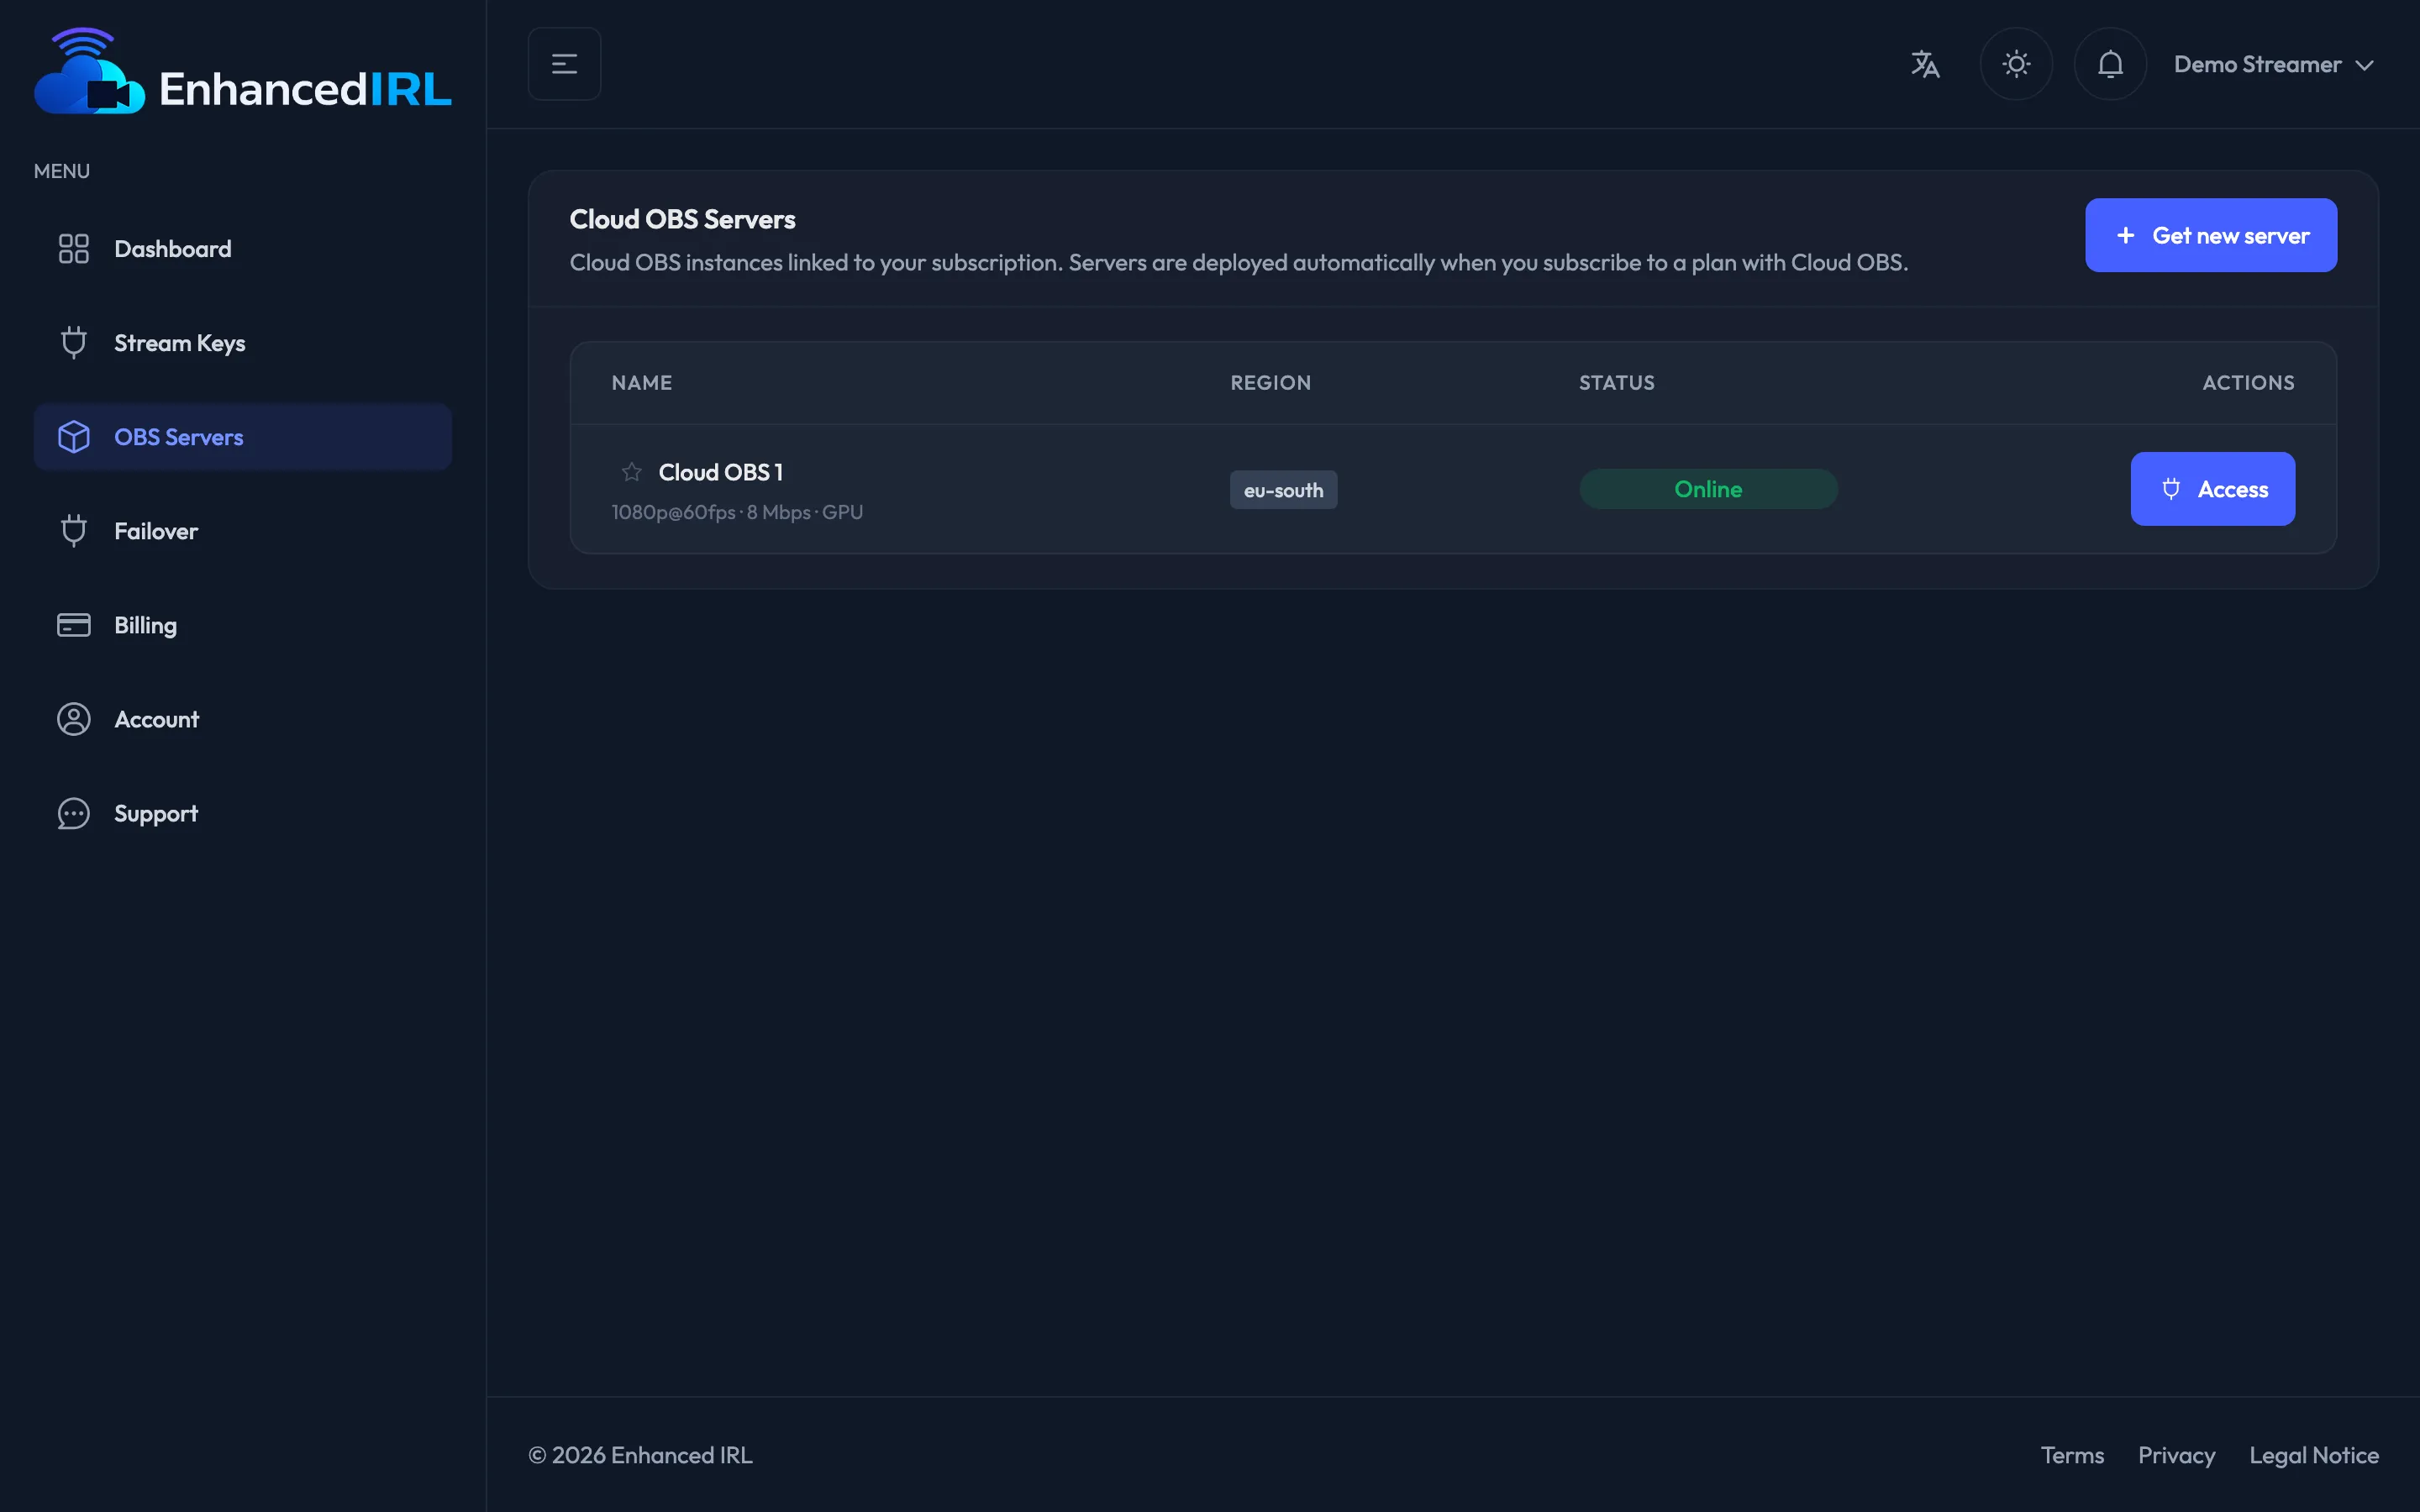
- Open OBS Servers in the side menu. Your server sits on Setting up for a few minutes while it gets ready.
- When the status turns Online, click the row to open its detail.
- Add the channel you’re going to broadcast to and pick it for the server under OBS control → Output. Without that, the server starts with no destination: Going out to your platform.
- Open the OBS control tab and try switching scenes. You’re in.
What it comes with
Section titled “What it comes with”Your Cloud OBS arrives with six scenes built. <key> is the name of your stream key.
| Scene | What it’s for |
|---|---|
Starting |
Countdown before you begin |
<key> |
Your live feed: it’s the main scene |
<key> Low |
Your feed when the bitrate drops, with a weak connection notice on top |
<key> Offline |
The “no signal” screen for when you lose coverage |
Privacy |
A break, for when you have to disappear for a moment |
Ending |
Sign-off |
The four screen scenes and <key> Low already carry an Enhanced IRL overlay, which you can turn off
or swap for your own: Scenes and overlays. On OBS Basic you
can also put your own overlay on top of the camera.
Automatic scene switching also comes configured and points at
those scenes, so it jumps to <key> Low and <key> Offline without you doing anything.
If you have several keys
Section titled “If you have several keys”OBS Standard comes with two keys and OBS Pro with three. Your Cloud OBS reads all of them, but doesn’t treat them the same:
- The Cloud OBS key is the first one created and the one the dashboard offers by default. It
feeds the main scene
<key>and its variants<key> Lowand<key> Offline, and it’s the one automatic scene switching watches. Set up your app with this one. - Each Extra input feeds its own scene, named like the key (for example,
Stream key 2). It’s for another camera: you put it on air by hand from OBS control, and automatic scene switching doesn’t watch it.
In Stream Keys every key carries its tag. If you broadcast to an Extra input thinking it’s
the main one, your channel will show <key> Offline.
What you see in the detail
Section titled “What you see in the detail”- A badge with the status (Online, Live, Stopped…) and your region.
- The Restart, Regenerate and Widget buttons. On Standard and Pro, Access as well.
- The OBS control, Scene switching, Scenes tabs and, on Standard and Pro, Desktop.
- On the right, four cards: Connection, Live (duration, bitrate, drops), System (CPU, FPS, render time) and Specifications (resolution, max FPS, max bitrate and the GPU on your plan).
Not working?
Section titled “Not working?”- The “Deploying server…” notice won’t go away: it’s normal for it to take a few minutes the first time. If it gets stuck there, see The Cloud OBS won’t start.
- “Server stopped”: it turns off on its own when you’re not using it. Hit Turn on and wait a few minutes (It turns off on its own).
- “Server suspended”: your subscription isn’t active. Check Billing.
Next step
Section titled “Next step”- Going out to your platform — set up the output before your first stream.
- The web control panel — scenes, audio and live stats.